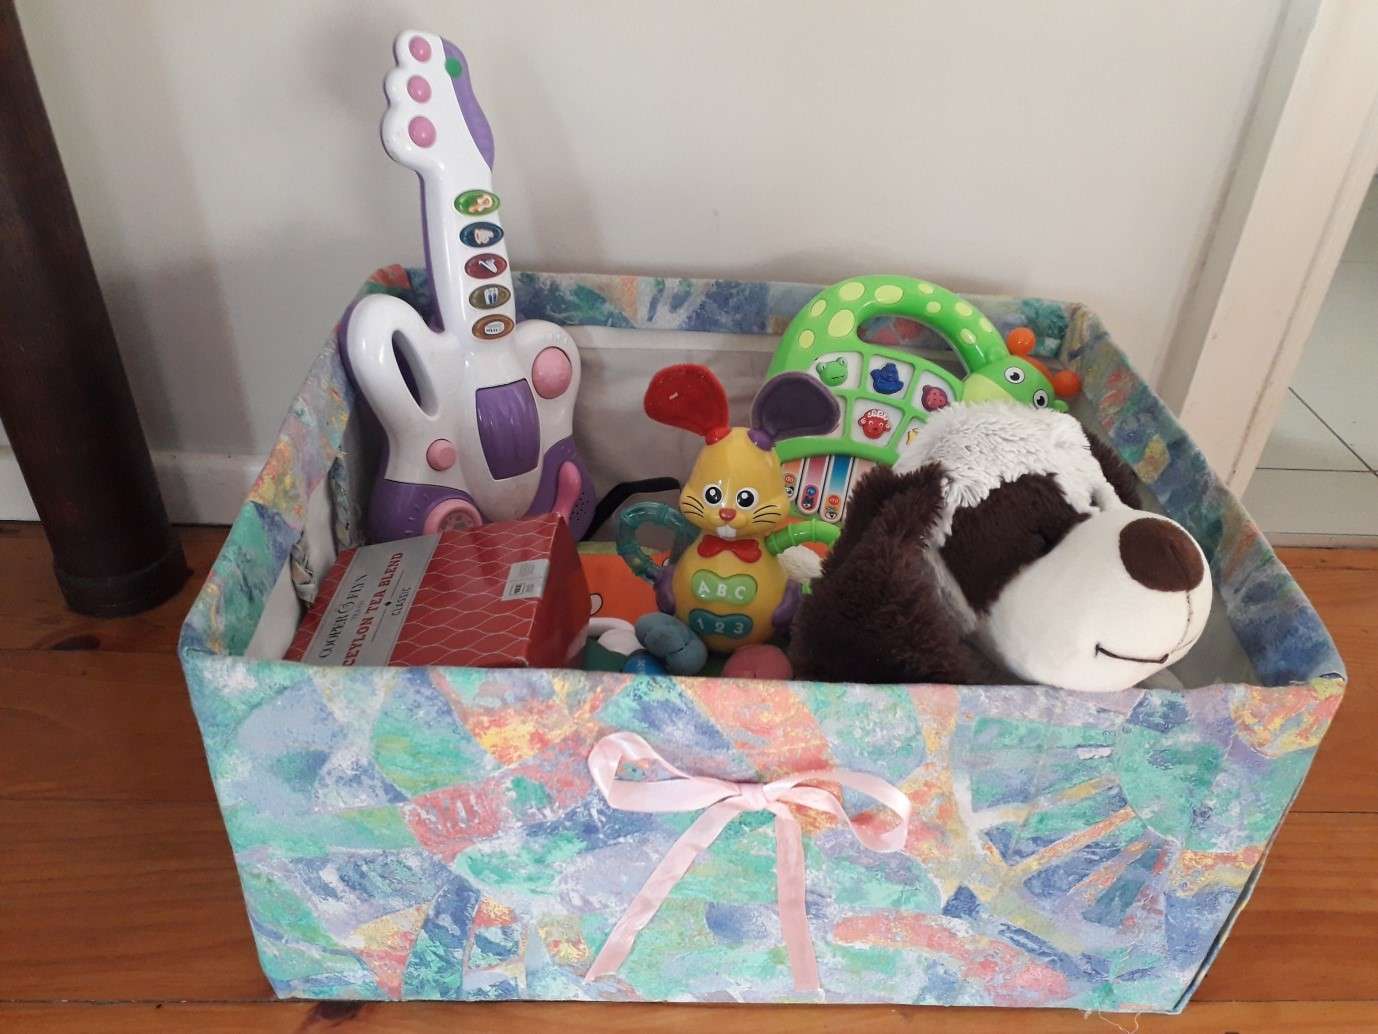
After playtime is over, wouldn’t it be great to be able to put your child’s toys neatly back in one box? Space is precious and toys scattered across the floor after playtime not only make your home messy, but can get underfoot and cause accidents.
Buying toy boxes can cost a pretty penny and if they break or are damaged that’s good money down the drain!

So how about we make our own toy box for our little ones and save some money! It will also be more special as it will be made and decorated by you for your child.
Toy boxes are easy and fun to make and you can do it with your little one, just follow these easy steps:
What you will need:
1. A box (you can get one for free from your neighbourhood supermarket)
2. Wrapping paper or old fabric
3. Glue stick (Pritt or any stick you have) or craft glue
4. A ribbon or old shoelace for decoration (optional)
5. Scissors
6. Sellotape
Method
Step 1: Make sure that one side of your box is closed and secure. If not, use sellotape to secure the bottom so that the toys don’t fall out.
Step 2: Cut off the cover flaps on the other side of the box.
Step 3: Lay your wrapping paper or fabric on the floor and put your box sideways on it.
Step 4: Measure the paper/fabric by wrapping the box up and cut the excess off at the bottom and the top, leaving about 10 cm to fold over your box.
Step 5: Stick the paper/fabric to your box using your glue (stick for the paper and glue for your fabric. You can even use sellotape to hold the edges of your paper/fabric over your box)
Step 6: Make a bow using your ribbon or shoelace and stick it to the front of your box.
Simple enough? Then go ahead and make your toy box today. Your little one will love playing with this box, taking toys out (or simply dumping them all on the floor) and you can teach them to tidy up after playtime by picking up their toys and putting them back in the box one by one.
Tell us: Do you enjoy DIY? What other toys would you like us to help you make?


